Plan the layout of your rack before you mount equipment
Todd Bullivant,
Hubbell Premise Wiring Inc.
Problem
Planning the layout of equipment in a relay rack can sometimes be difficult. If you try to install equipment in the relay rack without having a plan, you may not have enough rack space or room for crucial components.
Solution
Determining the appropriate amount and location of space to be allocated for the electronics, cable organizers, and fiber and copper patch panels is the first step in managing a structured cabling system. Before you install anything on the rack, use a "rack planner" to help you arrange the equipment. This planner becomes your map for organizing and managing your cabling system and can prevent the frustration of having to move equipment after it has been mounted.
Procedure
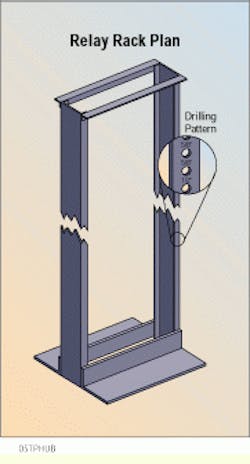
1) Make sure that your relay rack has universal hole spacing, that is, 0.625, 0.625 and 0.5 inches.
2) Determine how many rack-mount units (RMUs) you have to work with on your relay rack: 1 RMU = 1.75 inches. A typical 7-foot rack has 45 RMUs.
3) Convert the height of each component to be housed in the rack to RMUs. For example, a typical 48-port patch panel is 3.5-inches high. If you divide 3.5 by 1 RMU (1.75 inches), the patch panel will use 2 RMUs of space in the rack.
4) Write the part number or a brief description of each product in the location that corresponds to where you are planning to mount it on the rack. Shade the number of spaces that will be allocated to that piece of equipment.
5) Do this for each component until your planner is complete. And if something is not correct, you can easily change it before rack-mounting the equipment.
Some points to remember:
- Mount frequently accessed equipment, such as patch panels, at eye level or below so it is easy to service.
- Separate fiber and copper components and cabling to differentiate the two media.
- In a multirack environment, allow ample space for cable troughs or raceways to route large bundles of cable. The "dead" space at the top of the rack is a good place for this type of cable management equipment.
- Use blank panels to fill in any spaces not allocated to equipment. Aesthetically, there is nothing worse than a well-organized rack with gaping holes.
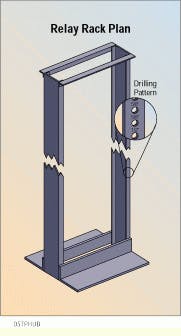
Use this rack plan to map out where to mount electronics and patch panels in a relay rack with universal hole spacing.
Todd Bullivant is the crossconnect product manager for Hubbell Premise Wiring Inc., Stonington, CT.

